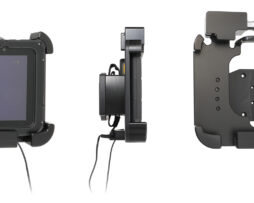
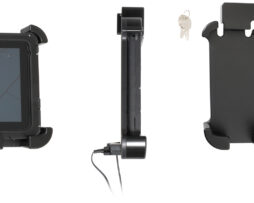
Charging cradle

510892

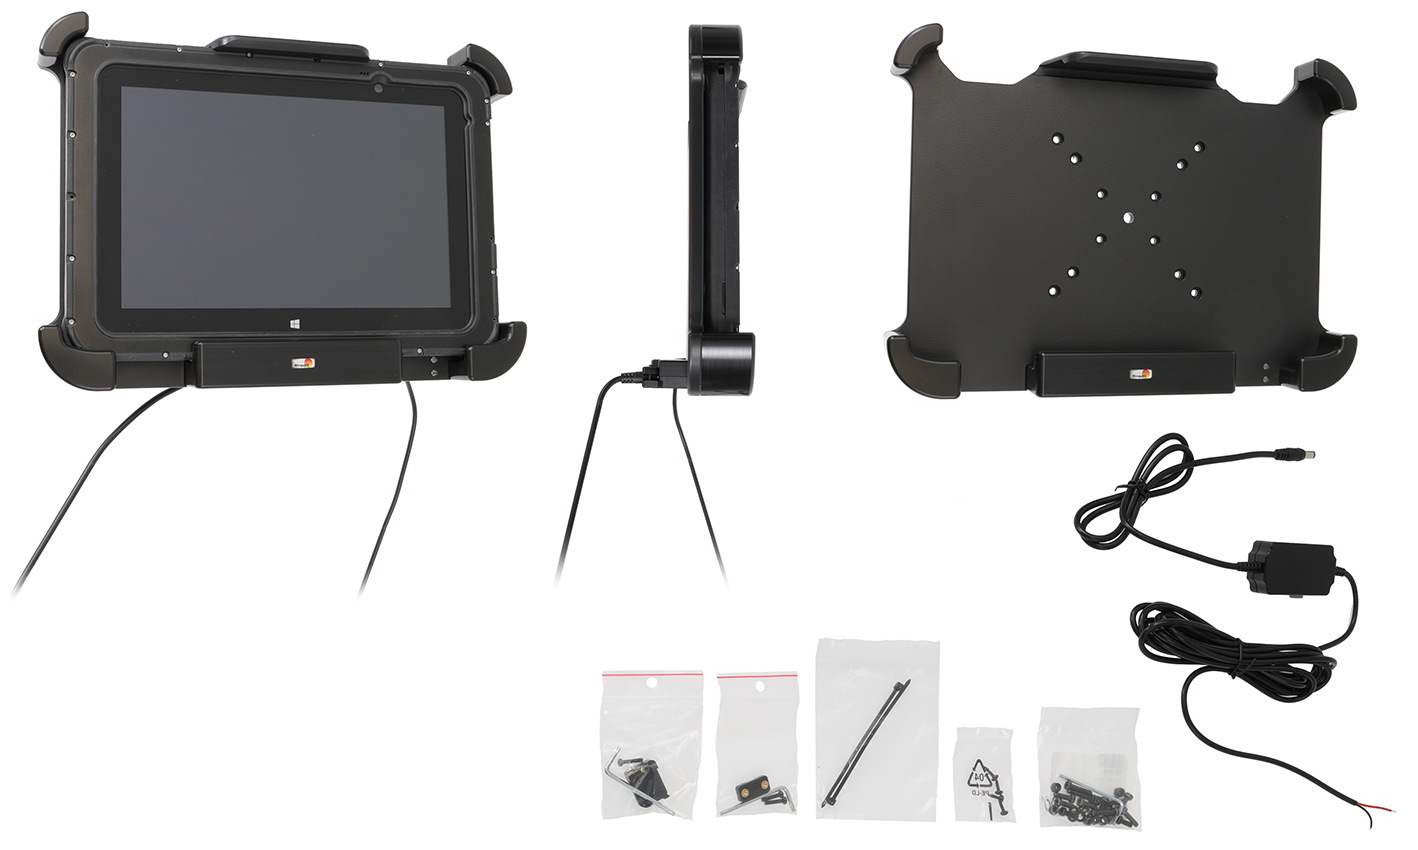
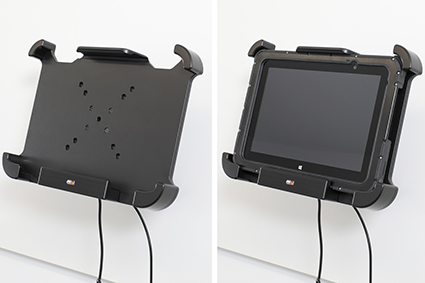
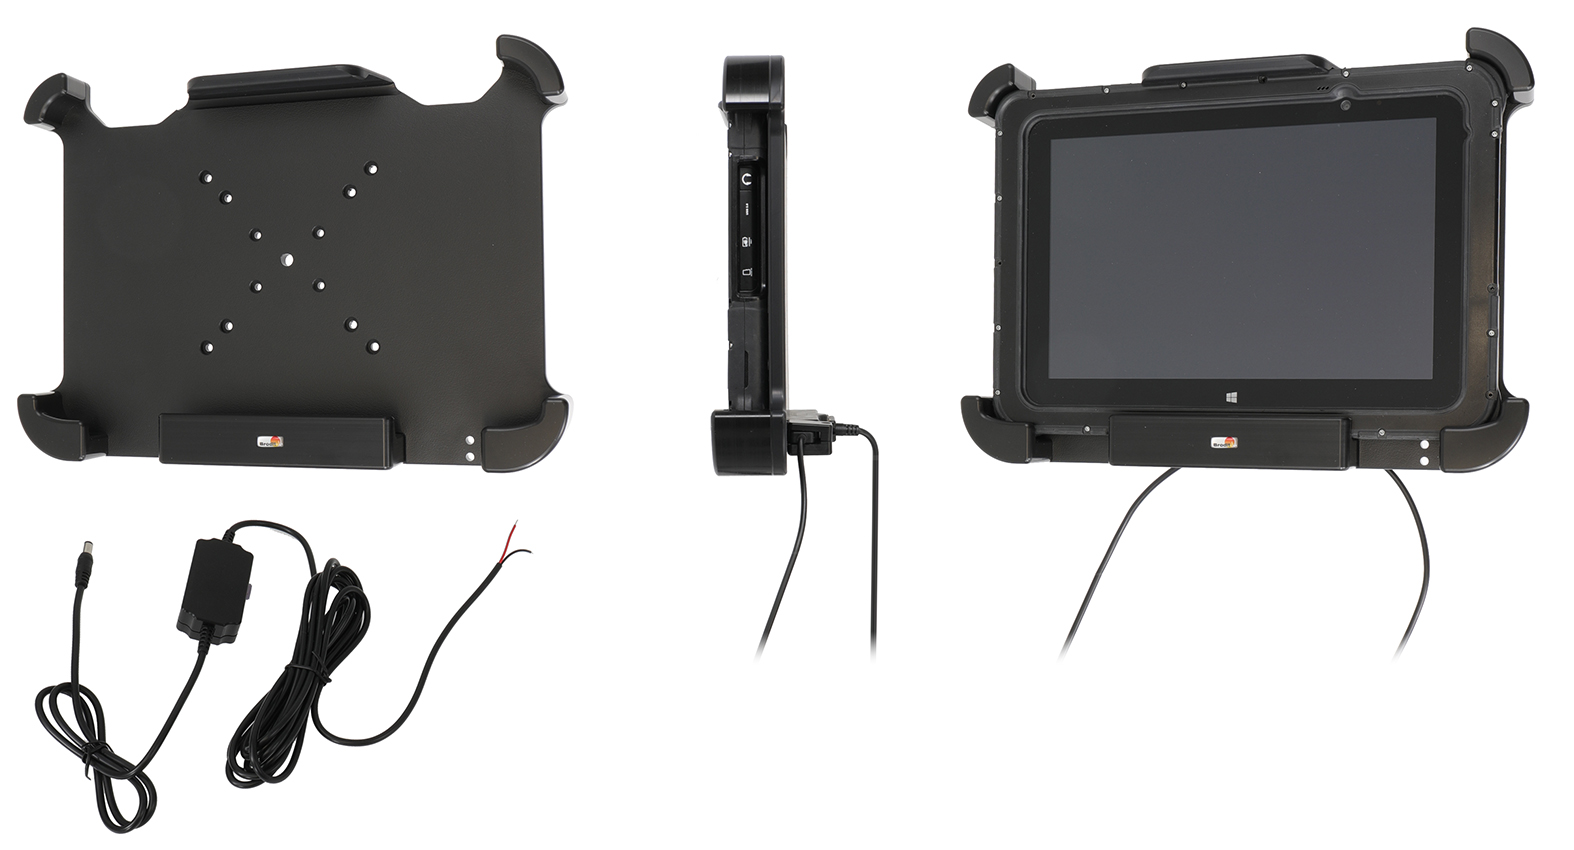
Extra strength holder. For device with Rugged frame. With DC power connector (power supply NOT included). With AMPS, Vesa 75/100 holes. With USB Host.

€531,00

Su ordinazioneOrdina ora, spediamo il 07/10/2026

Disponibile su ordinazione

Codice Brodit510892
EAN7320285108929
TipologiaCharging cradle

Compatibilità

Questo prodotto è compatibile con i modelli elencati qui sotto. Usa la ricerca per trovare il tuo, poi apri la pagina del modello per vedere tutti i supporti disponibili.

Descrizione

This holder is the perfect choice when you want to have your device within reasy reach. Custom fit for devices with Rugged frame. The holder has an extra robust design. Attach the holder to any flat surface or a Pedestal Mount in a truck, distribution vehicle, warehouse etc. Predrilled AMPS and VESA 75/100 standard holes. You have full access to the camera and all buttons and outlets when the device is in the holder.
 
The holder has a DC connector to plug in a power supply. The power supply is NOT included in the holder, add one of these products in order to get charging to your device:
Item no. 941017    Cable with cigarette ligther plug, straight cable, 12V out, 3A. 12V in.
Item no. 941012    Hard wire cable for fixed installation, 12V out, 3A. 12V in.    
Item no. 941023    Cable with cigarette ligther plug, straight cable, 12V out, 3A. 12/48V in.
Item no. 941024    Hard wire cable for fixed installation, 12V out, 3A. 12/48V in.
 
Made in Sweden. Made of high grade Acetal plastic. Color: Black. Devices should not be installed onto a vehicle's dashboard if blocking the view or key controls. An installation of a device in a vehicle is always done on the customer's own responsibility.



Istruzioni di montaggio

Please read all of the instructions and  look at the pictures before attaching the holder.
 
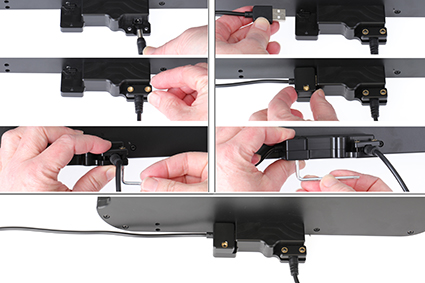
1. To attach the cable: Attach the cable to the device. Place the lid over the cable and screw it into place with the enclosed screws.
 
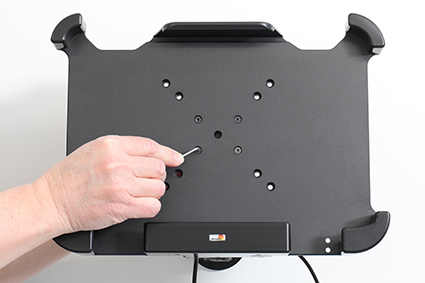
2. To attach the holder: Place the holder onto the desired position and screw it into place with the enclosed screws.
 
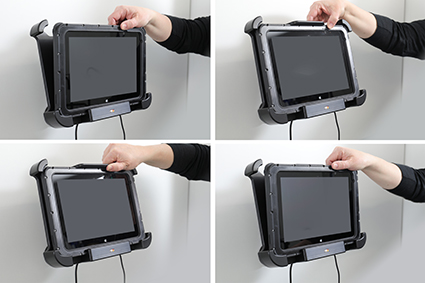
3. To place the device in the holder: Place the lower part of the device in the holder. Flip/press the upper part of the device forward so it snaps into place in the holder.
To remove the device from the holder: Press upwards on the upper part of the holder, at the same time pull the upper part of the device out from the holder. Lift the device up and out from the holder.
 
4. The holder is in place.