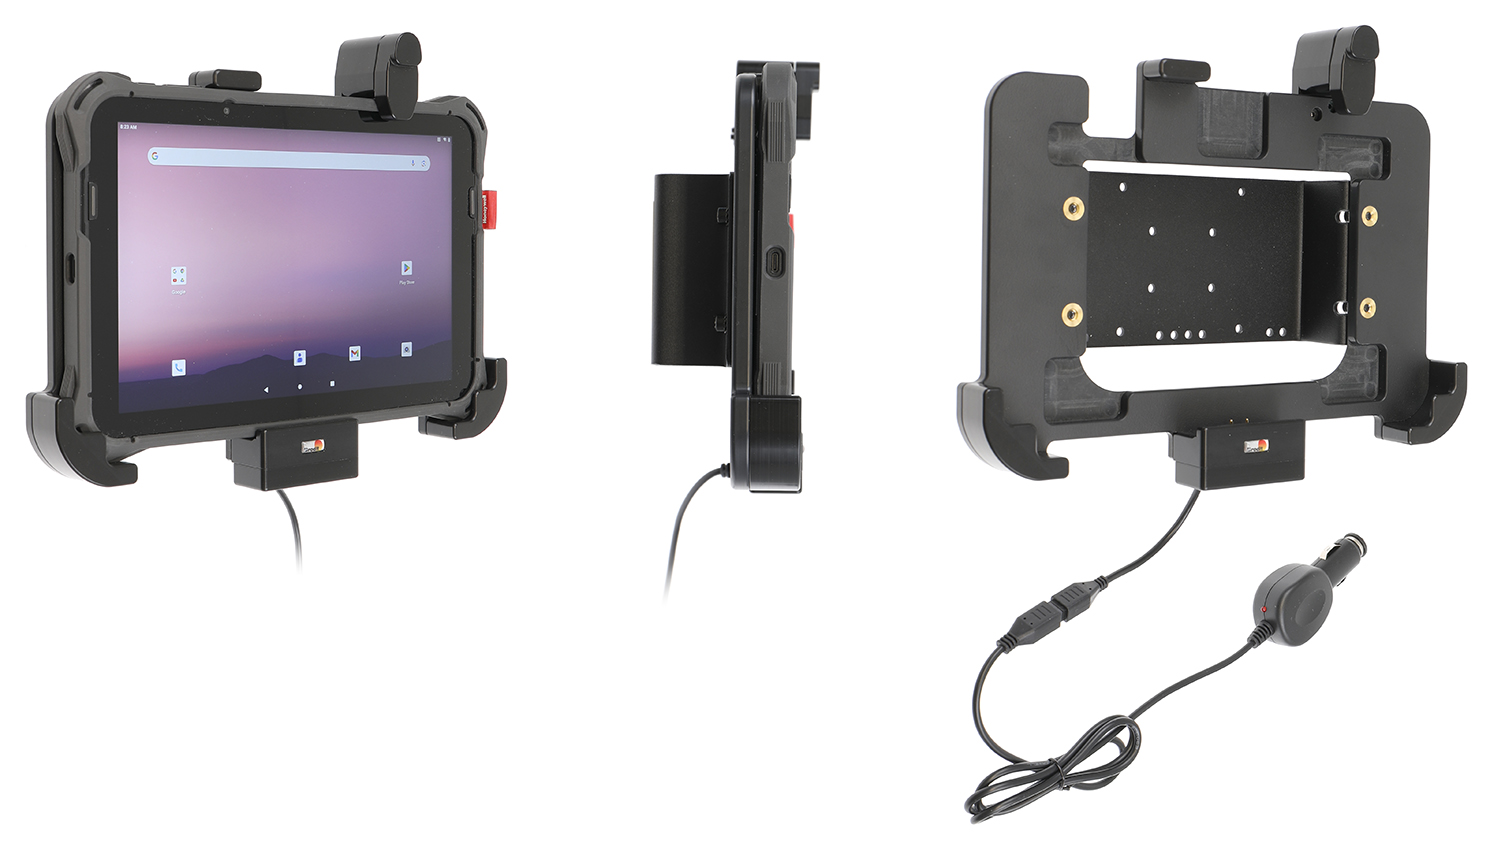
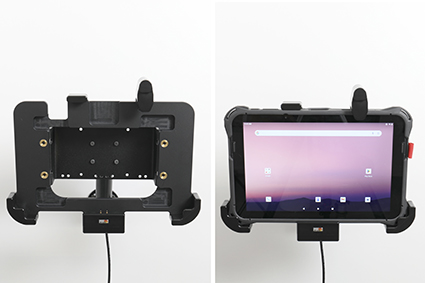
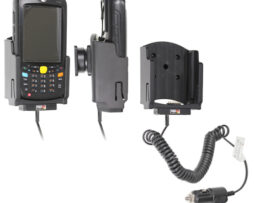
Fits devices with Protective Boot (EDA10A-RB-0) and with Rotating Hand Strap (EDA10A-HS-1PK). Easy-switching system. With AMPS, VESA 75 holes.
€345,00
Su ordinazioneOrdina ora, spediamo il 07/10/2026
Disponibile su ordinazione
Codice Brodit
712402
EAN
7320287124026
Tipologia
Holder attivi con cavo accendisigari
Compatibilità
Questo prodotto è compatibile con i modelli elencati qui sotto. Usa la ricerca per trovare il tuo, poi apri la pagina del modello per vedere tutti i supporti disponibili.
Use an active holder for your EDA10A and you will always have a freshly charged battery! The holder provides a neat and comfortable installation - safe and convenient. The holder is equipped with a cig-plug for connection to the vehicle's 12/24 Volt socket. 3A charging. Charging via pogo plug.
This holder is to be used when you want to have your EDA10A extra securely in place and still have it easy accessable.
Easy-switching system:
The easy-switching system enables you to upgrade the holder only, and keep the installed cables. It saves you a lot of time! When upgrading to a new device, you do not longer need to make a full installation. Same goes for maintenance in case of warranty or damage. You simply disconnect the holder from the charging cable via the Molex 6-pin quick connector, and then connect the new holder. The switch is done in a few seconds.
Choose installation placement with care, devices must not be placed in positions where they may block the view or important controls. The cradle should only be attached onto a suitable place. Installations always take place at the customer's own discretion and responsibility.
Istruzioni di montaggio
Please read all of the instructions and look at the pictures before attaching the holder.
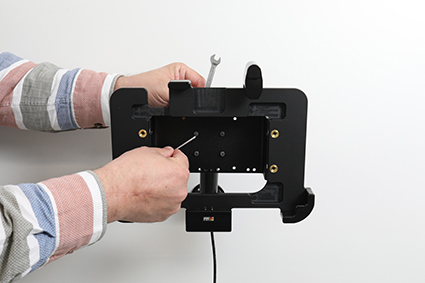
1. Place the holder onto the desired position and screw into place with the enclosed screws.
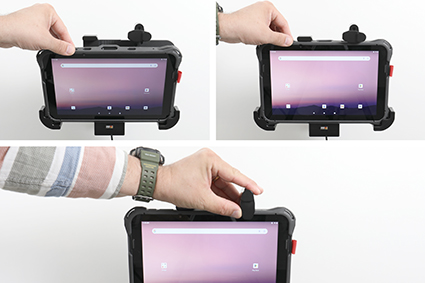
2. To place the device in the holder: Press the spring stud locking upward. Place the lower part of the device in the holder, then flip/press the upper part forwards so it snaps into place in the holder. Press the spring stud locking downward.
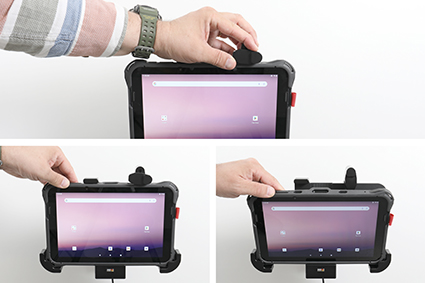
3. To remove the device from the holder: Press the spring stud locking upward. Press upwards on the upper part of the holder, in the same time pull the upper part of the device out from the holder and then lift the device up and out from the holder.