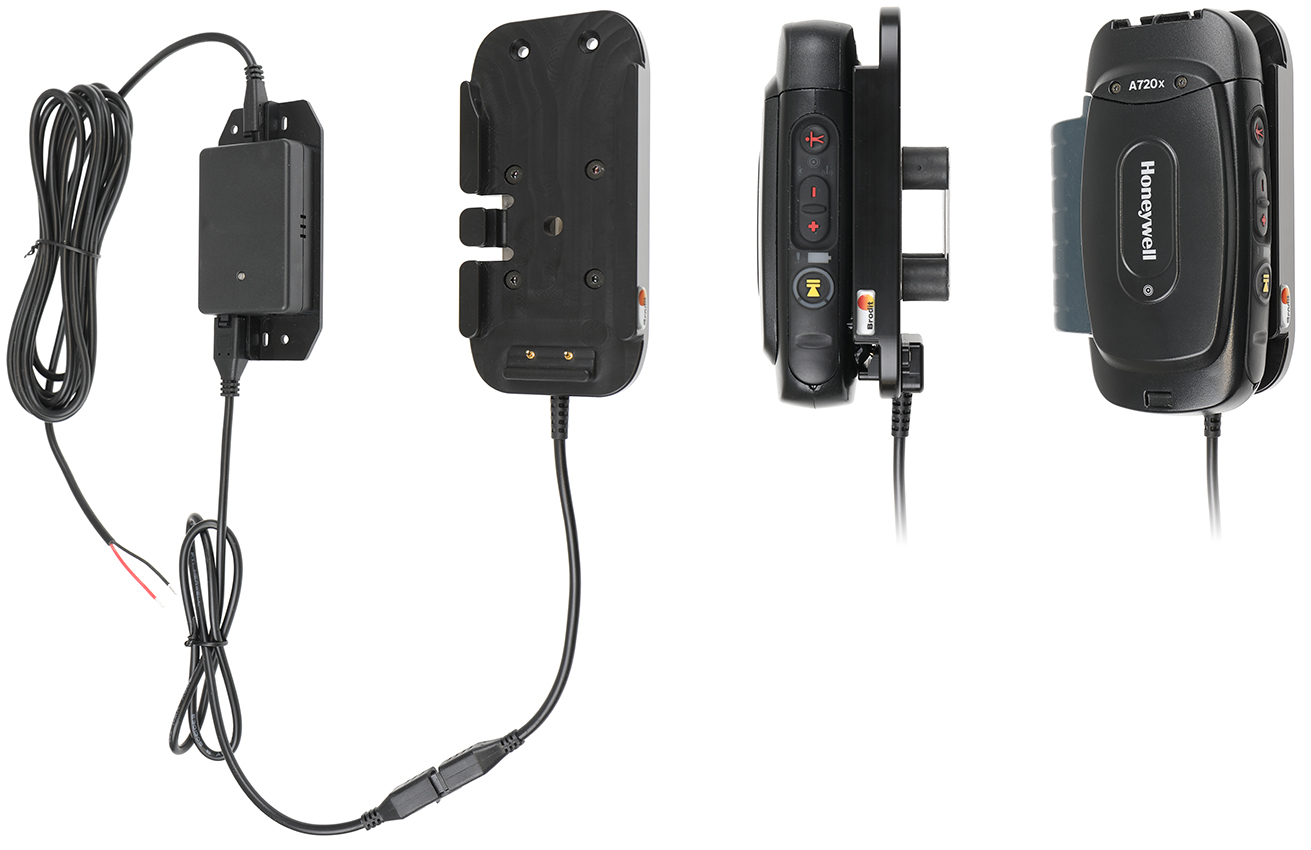
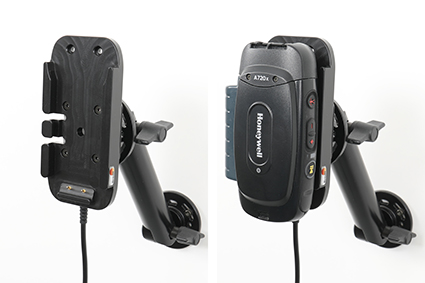
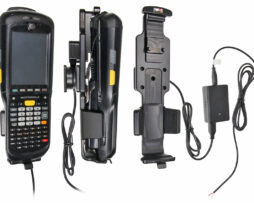
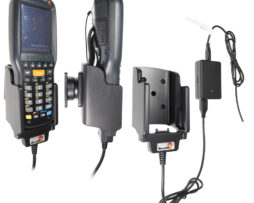
2,7A charging. 12/24V. With Easy-switching system. With vibration dampeners.
€238,00
Su ordinazioneOrdina ora, spediamo il 07/10/2026
Disponibile su ordinazione
Codice Brodit
713358
EAN
7320287133585
Tipologia
Holder attivi per installazioni fisse
Compatibilità
Questo prodotto è compatibile con i modelli elencati qui sotto. Usa la ricerca per trovare il tuo, poi apri la pagina del modello per vedere tutti i supporti disponibili.
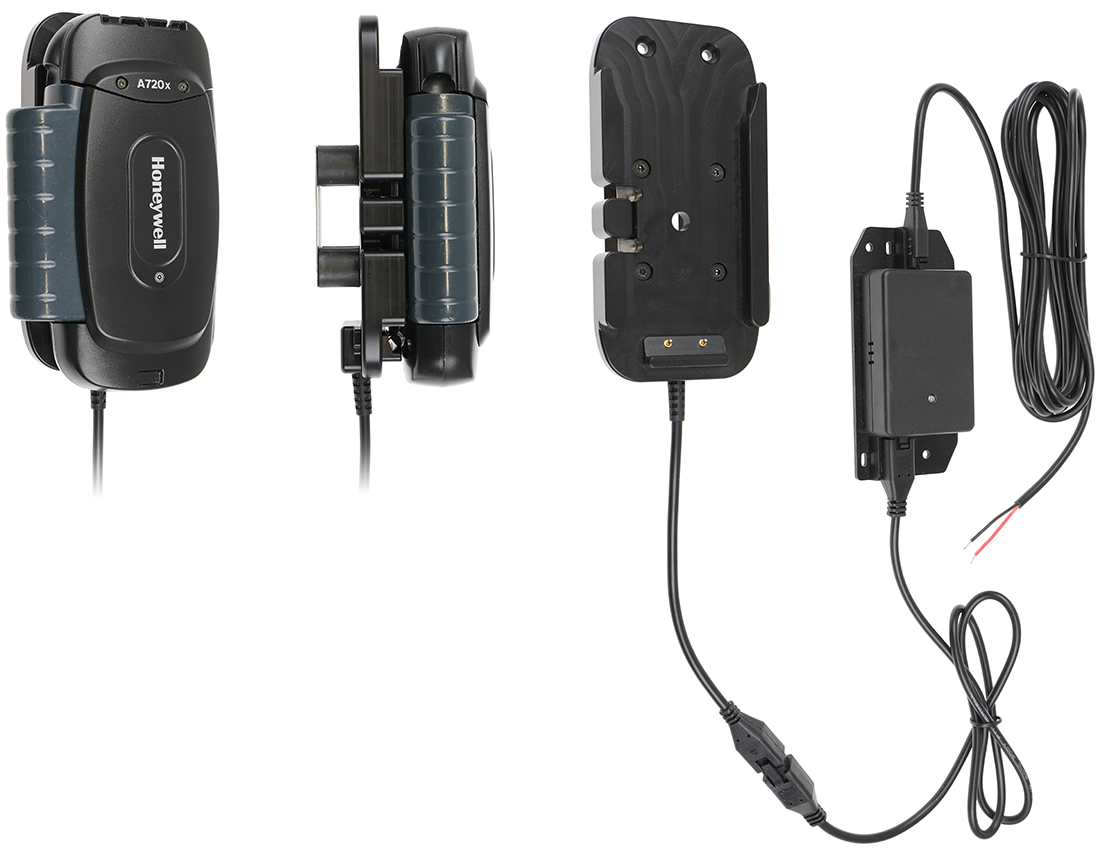
An active holder which is to be connected inside the dashboard, this gives a discreet, neat installation without cables hanging over the interior! You can choose to use the holder as an active holder for charging of your device only, or to connect an adapter to the Molex connector for additional features. 12/24 Volt. The product is E-approved. Connect the power cable with a 3 A fuse. 3 A charger. Professional installation recommended. The rubber vibration dampeners help to eliminate vibrations when mounted onto a vehicle operating in rough road conditions. You have full access to all buttons and outlets when the device is in the holder. The charging device connects to the unit automatically when you put the unit in the holder.
If you have the Honeywell A710x or A720x, you can upgrade the holder by using one of the following accessories:
Item no. 216499 Retention-lock module
Item no. 216500 Key lock module
Made of high grade black ABS/Acetal plastic. Made in Sweden. Connect the power cable with a 3A fuse. Professional installation recommended. Attach onto a Pedestal Mount.
Easy-switching system:
The easy-switching system enables you to upgrade the holder only, and keep the installed cables. It saves you a lot of time! When upgrading to a new device, you do not longer need to make a full installation. Same goes for maintenance in case of warranty or damage. You simply disconnect the holder from the charging cable via the Molex 6-pin quick connector, and then connect the new holder. The switch is done in a few seconds.
Istruzioni di montaggio
Please read all of the instructions and look at the pictures before attaching the holder.
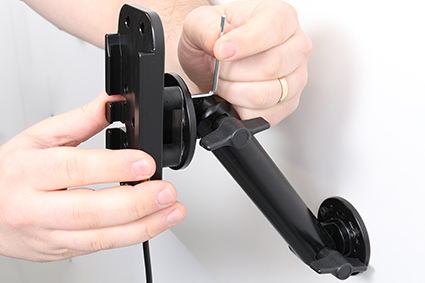
1. Place the holder onto the desired position and screw into place with the enclosed screws.
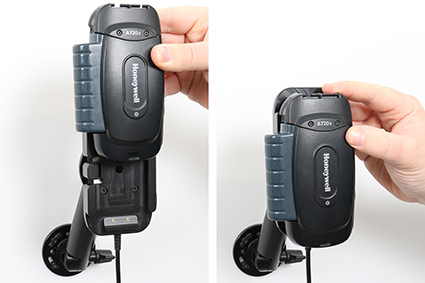
2. To place the device in the holder: Place the lowerpart of the device into the holder. Press the device downward into place in the holder.
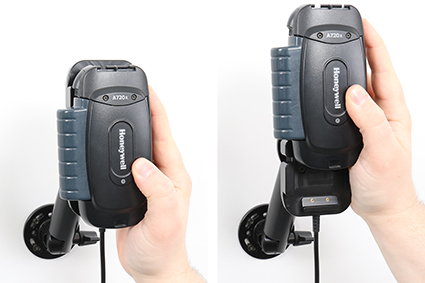
3. To remove the device from the holder: Push the decvice uppward. When the device is set free, lift it upward out of the holder.