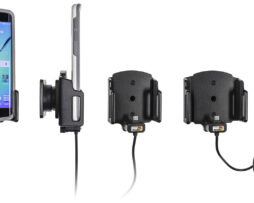
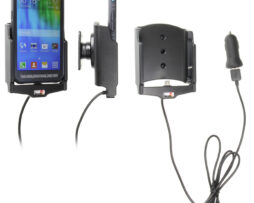
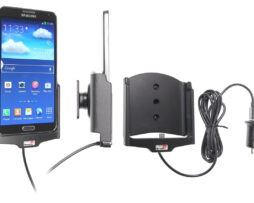
attivi con cavo usb e adattatore per presa accendisigari

721026

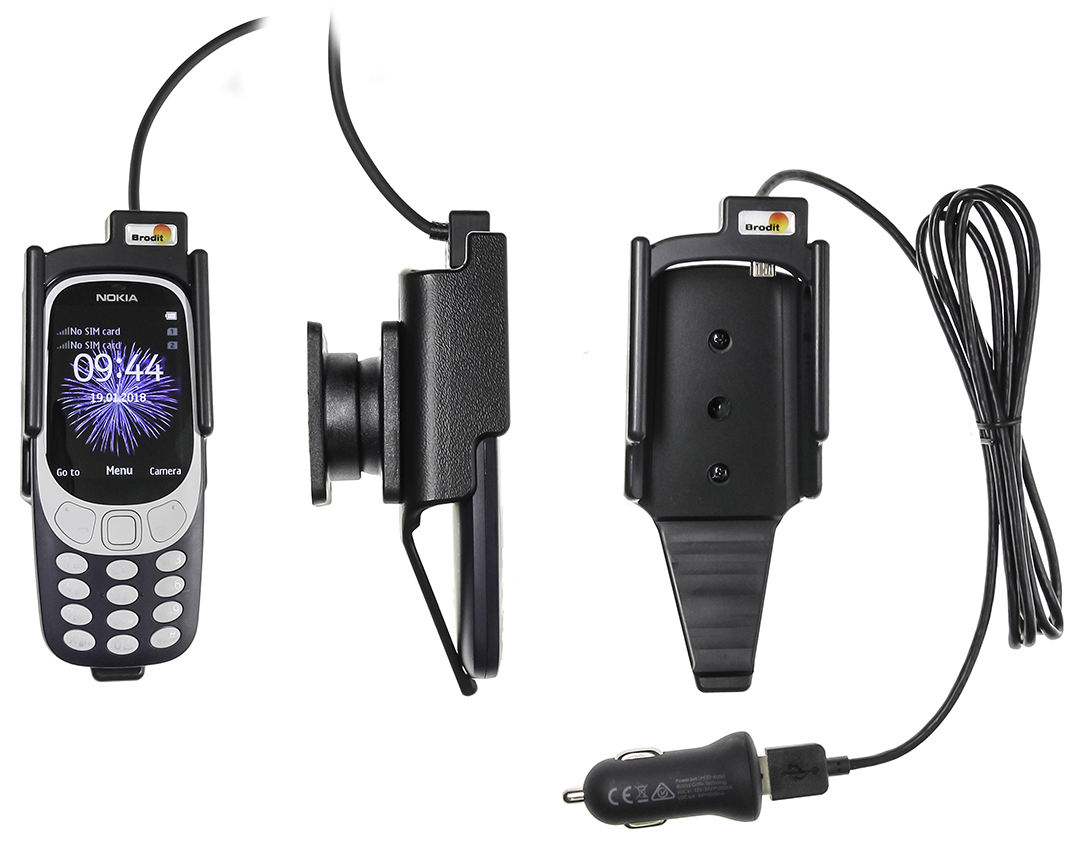
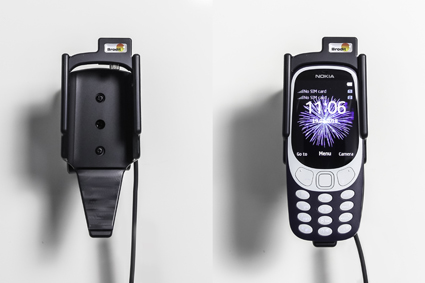
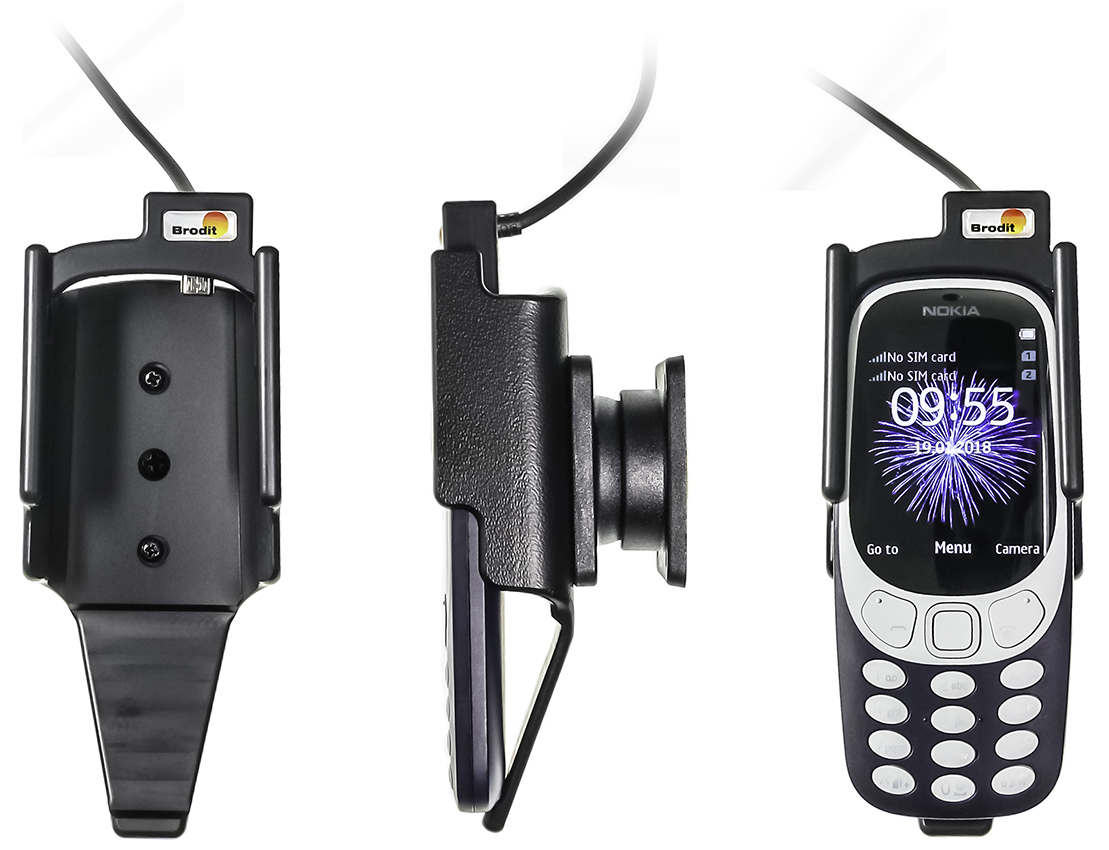
With USB-cable with cig-plug adapter. With tilt swivel.

€71,00

Su ordinazioneOrdina ora, spediamo il 07/10/2026

Disponibile su ordinazione

Codice Brodit721026
EAN7320287210262
Tipologiaattivi con cavo usb e adattatore per presa accendisigari

Compatibilità

Questo prodotto è compatibile con i modelli elencati qui sotto. Usa la ricerca per trovare il tuo, poi apri la pagina del modello per vedere tutti i supporti disponibili.

Dispositivi compatibili (1)

MarcaModello
Nokia3310 (2017)

Descrizione

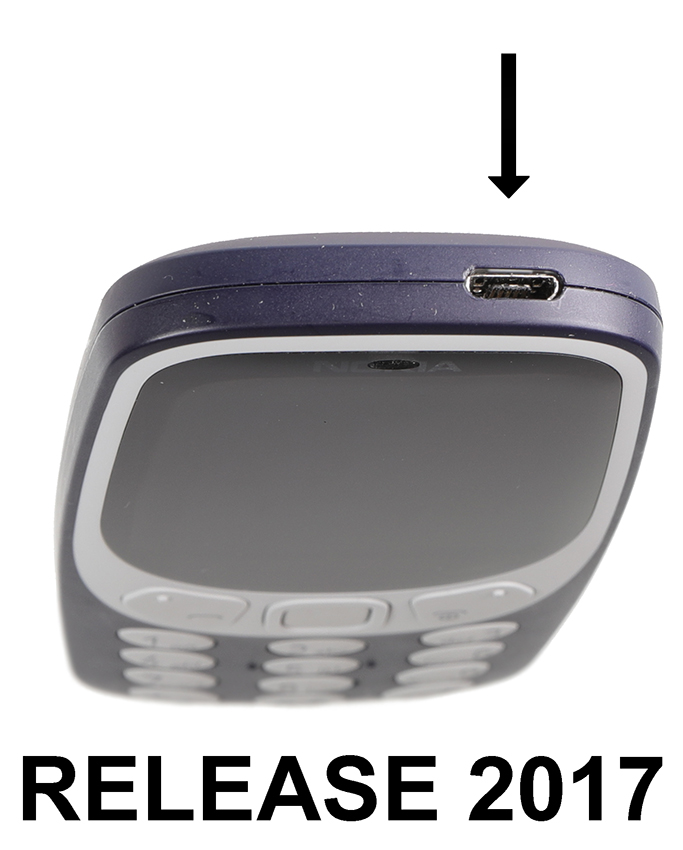
Nokia model with charging input on the top right side!

The active holder charges your unit when it is in the holder. You can choose to connect the cig-plug to the car's 12 Volt socket, or to remove the cig-plug adapter and connect the USB cable to the car's (or stereo's) USB connector.
 
The holder is attached onto a tilt swivel and can be adjusted in order to avoid light reflection. 12 Volt. Attach the holder onto a ProClip Mounting Platform in your car.
 
Dimensions: 53 x 137 x 54 mm (W x H x D mm)  
Weight: 119 g  
Cable length (+ connector with plug 6 cm): 148 cm  
 
Important note!
In order to be able to transmit audio files from your device through the USB-cable, this feature must be supported by the stereo in your car. You can easily test if this works by connecting your device to the stereo with the USB/charging cable that comes with your device. Charging through USB works regardless.
 
This product supports Qualcomm QC 2.0 quick charge (provided the device supports Qualcomm QC 2.0 quick charge).

Istruzioni di montaggio

Please read all of the instructions and look at the pictures before attaching the holder.

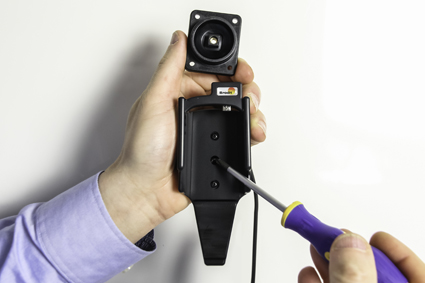
1. Attaching the holder: Loosen the screw in the center of the holder so you can remove the tilt swivel attaching plate on the back.

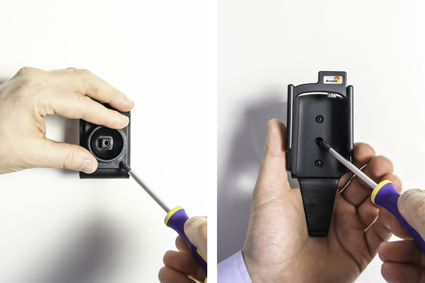
2. Place the attaching plate on desired position. Screw the attaching plate into place with the enclosed screws. Place the holder over the attaching plate so the tilt swivel fits. Screw the holder onto the attaching plate. The holder is in place.

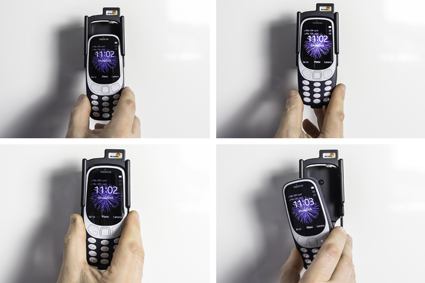
3. Placing the device in the holder: Place the device upper part of the device into the lower part of the holder. Press the upper part of the device upwards into the holder. Carefully, slide the device up into the holder so you hear/feel it snaps into place.

4. The holder is in place.