Questo prodotto è compatibile con i modelli elencati qui sotto. Usa la ricerca per trovare il tuo, poi apri la pagina del modello per vedere tutti i supporti disponibili.
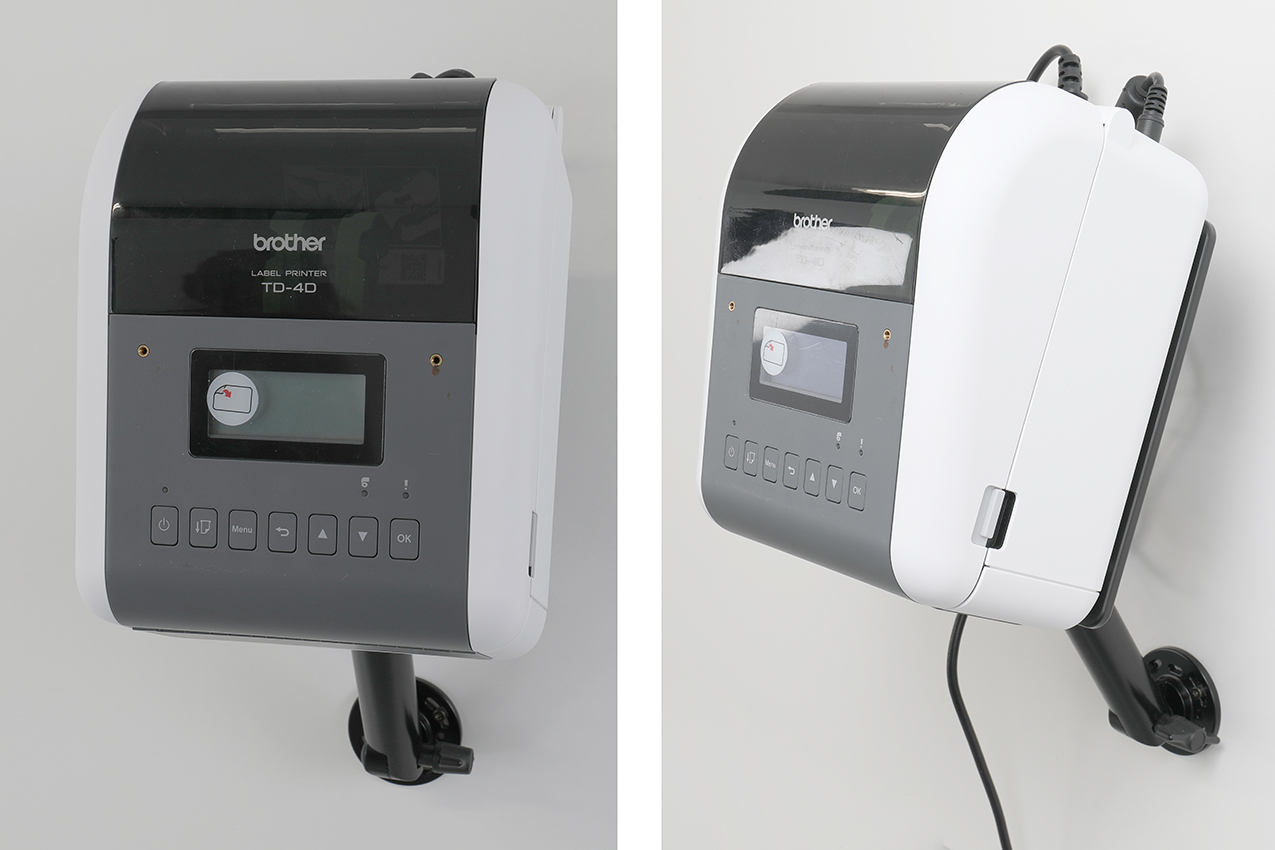
The Brother TD-4550DNWB, TD-4550DNWBFC offers fast, reliable label printing in a compact and professional design. Combined with a Brodit printer mount, it becomes a well-integrated part of the workspace, keeping equipment within comfortable reach and helping create a more efficient and organized working day.
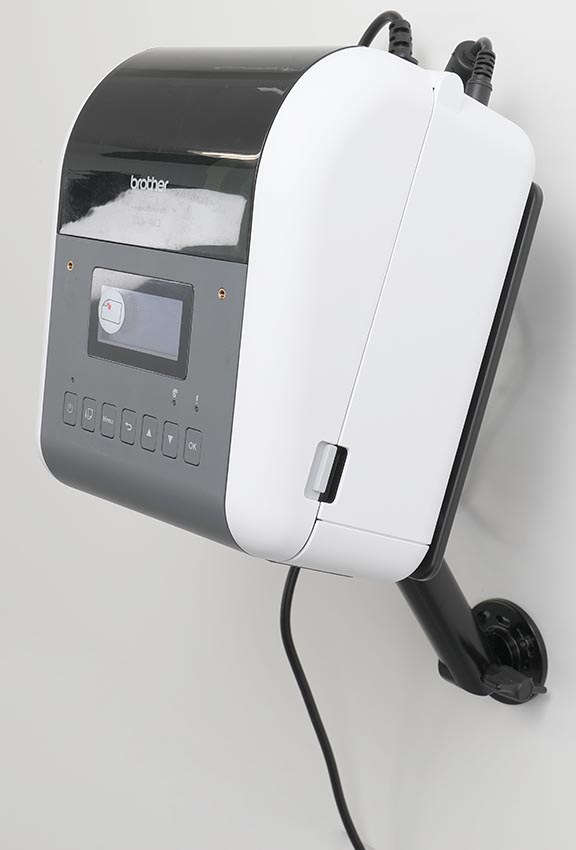
This Brodit printer mount is a simple and reliable solution for mounting your printer. The design provides a secure installation and keeps the printer easily accessible when needed. The mount is only 7 mm thick, keeping the printer close to the mounting surface and minimizing the space it requires. Its strong construction keeps the printer firmly in place, while the integrated cable management helps keep cables tidy and reduces the risk of damage or accidental disconnection.
Featuring a standard AMPS hole pattern, the mount can be easily attached to a Brodit Pedestal Mount, offering a stable and versatile installation solution for various work environments. Made from durable ABS/Acetal plastic, the mount offers good strength, stability, and long service life. Color: Black. Made in Sweden.
Istruzioni di montaggio
Please read all instructions and review the illustrations carefully before installing the mount.
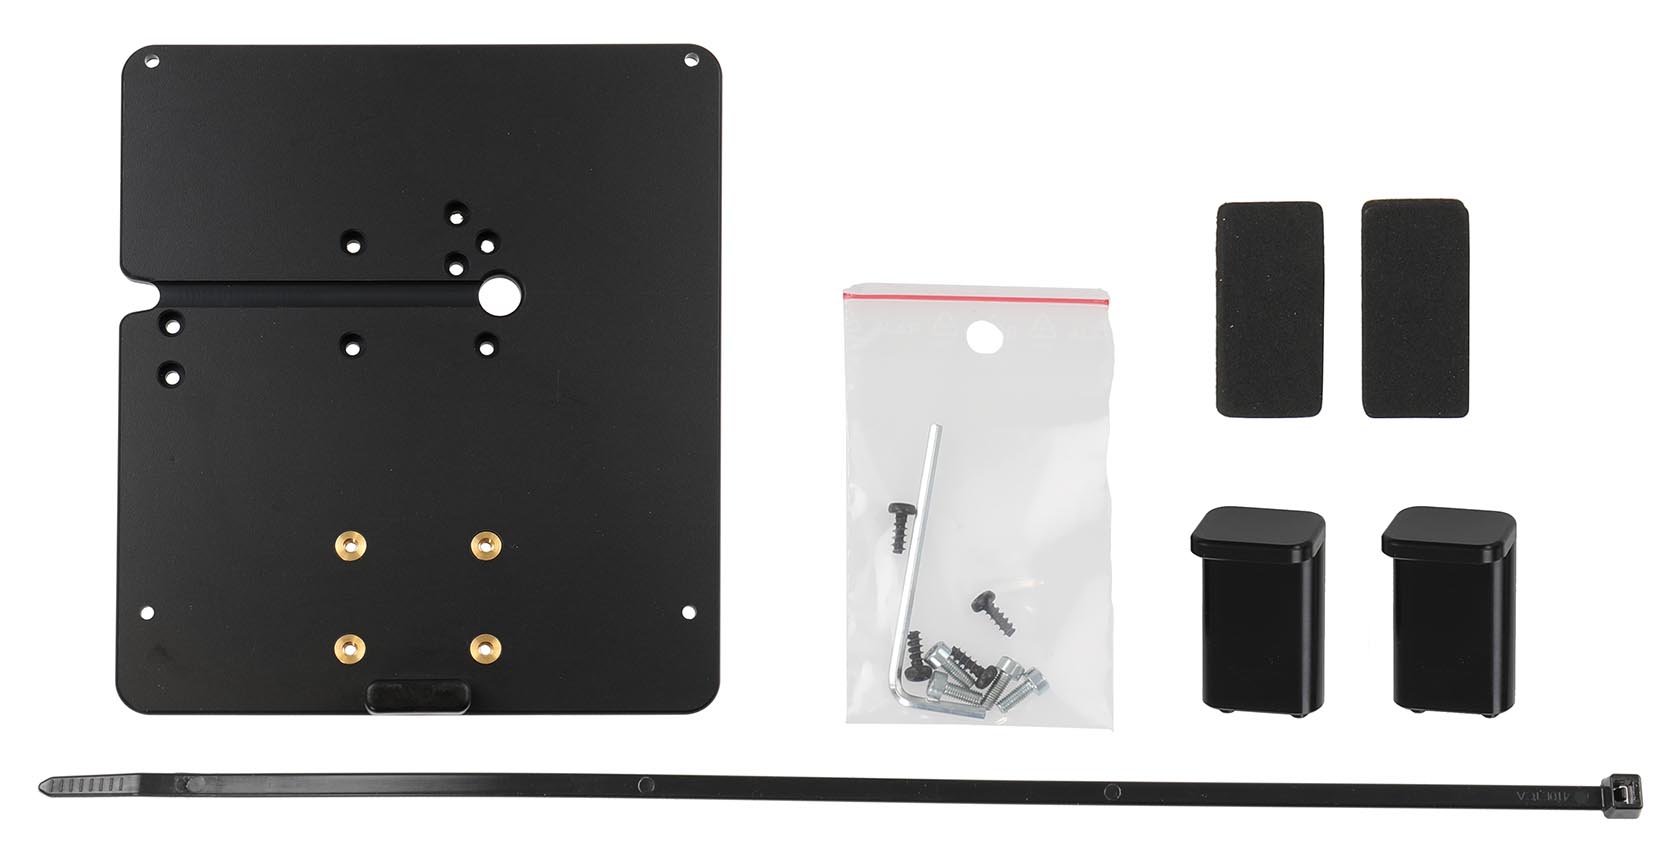
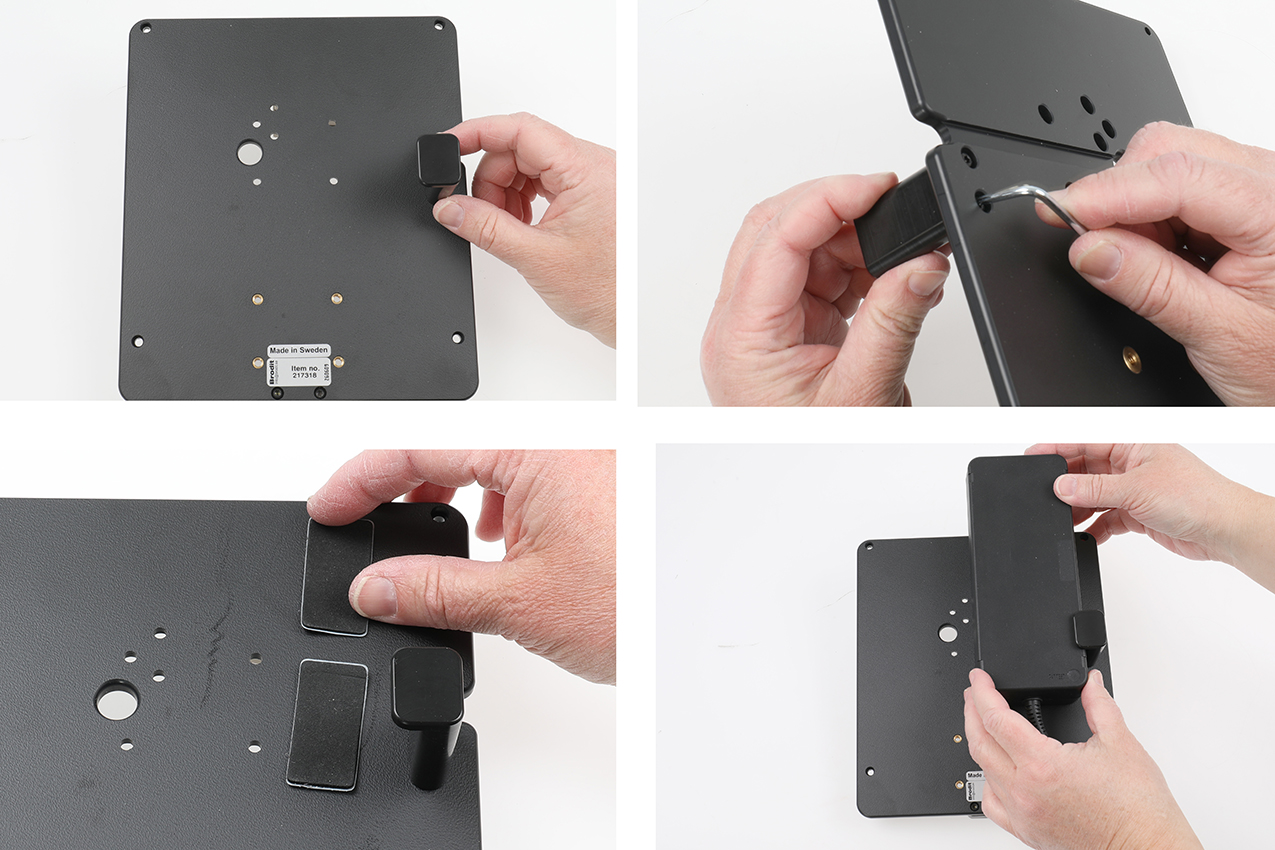
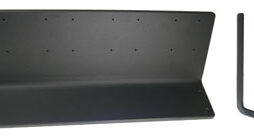
1. Attach one side support to the mount using the supplied screws. Attach the foam pads to the mount. Place the charging box underneath the side support. Ensure that the charging box is not positioned too close to the AMPS mounting holes.
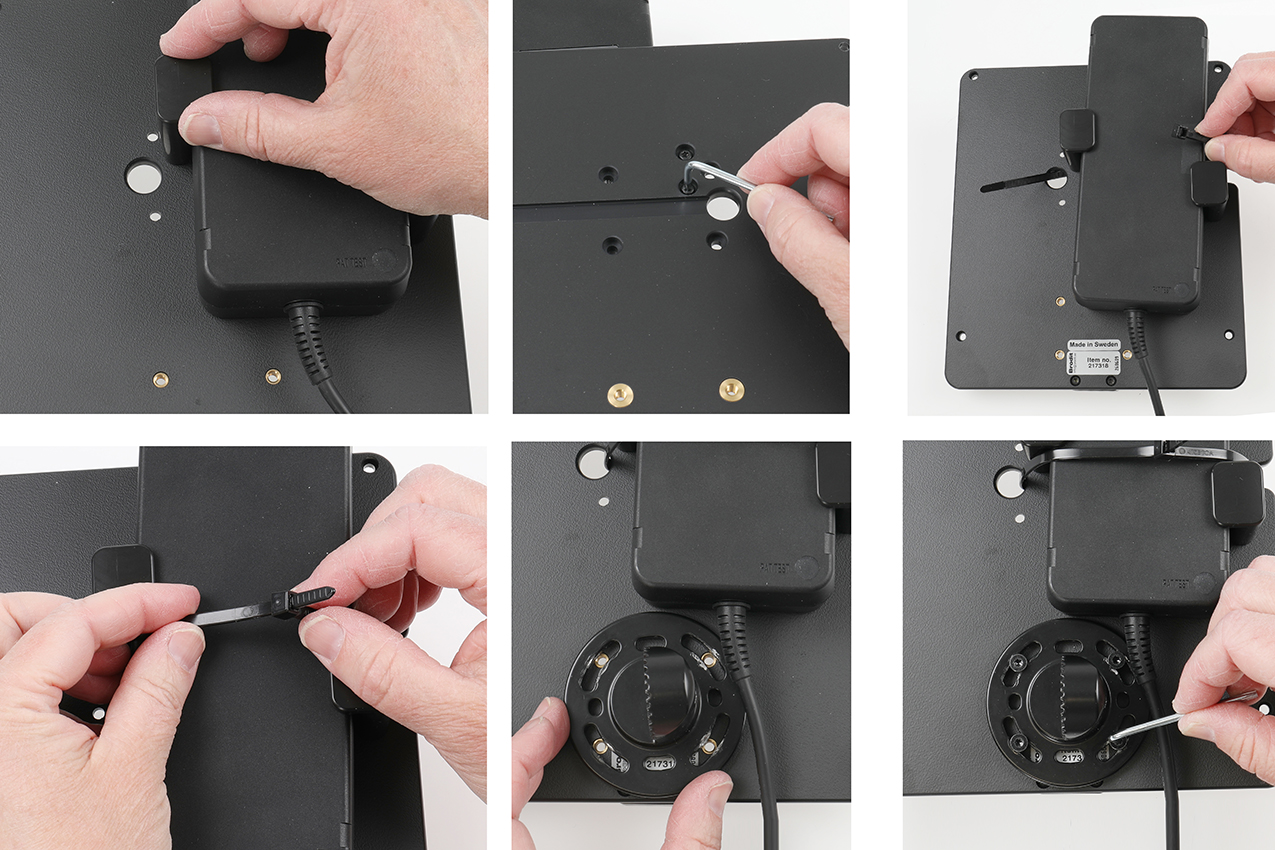
2. Position the second side support to secure the charging box in place and fasten it with the supplied screws. Insert the cable tie into the slot and secure both the charging box and cables.
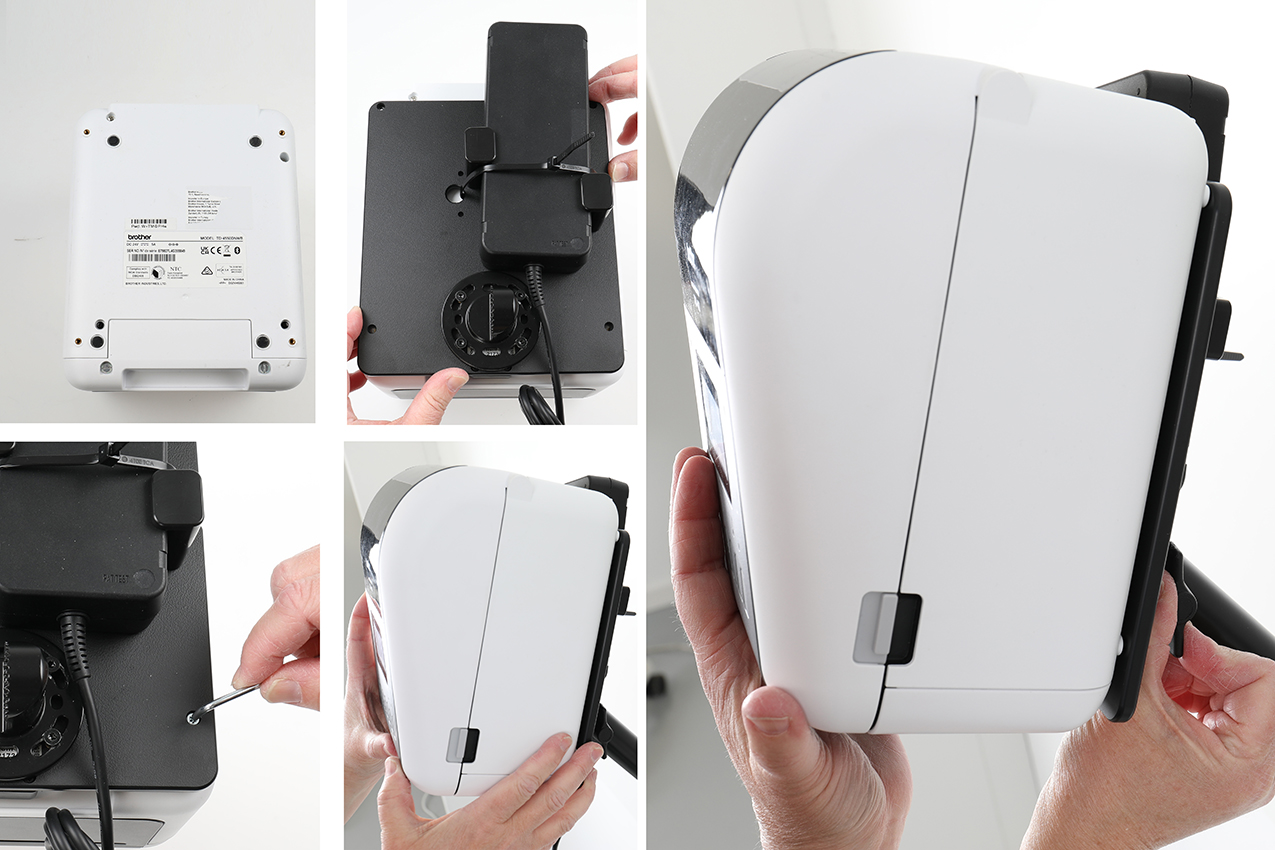
3. Place the printer on a flat surface with the rear side facing upward. Position the mount on the printer, aligning the mounting holes. Secure the mount to the printer using the four supplied screws.
For installation on a pedestal mount: Attach the pedestal mount top plate to the mount, then secure the printer onto the pedestal mount.
4. The mount is now installed, with the printer securely attached.