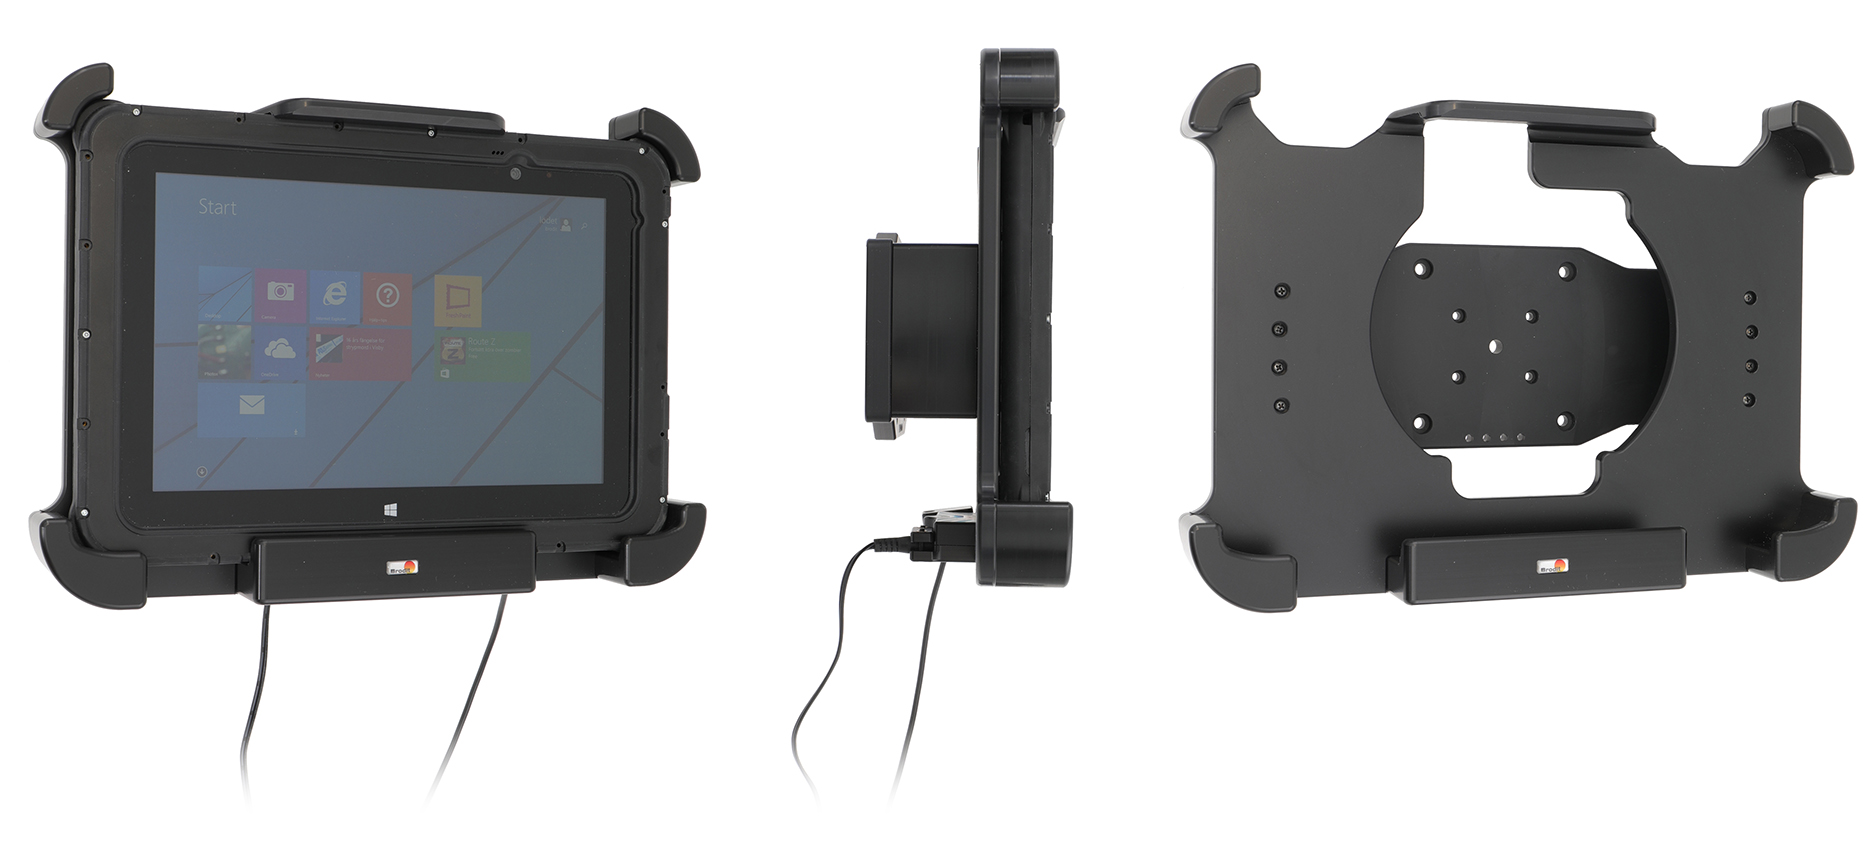
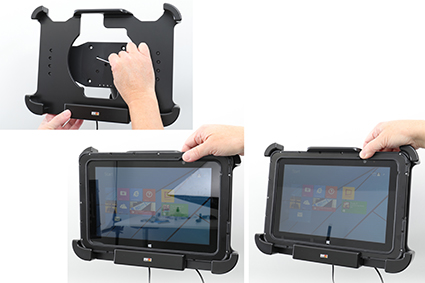
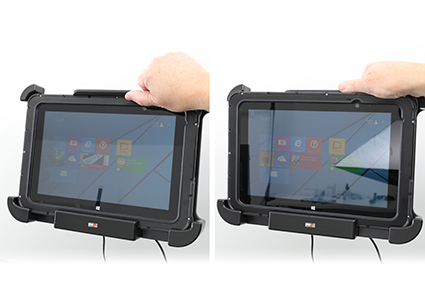
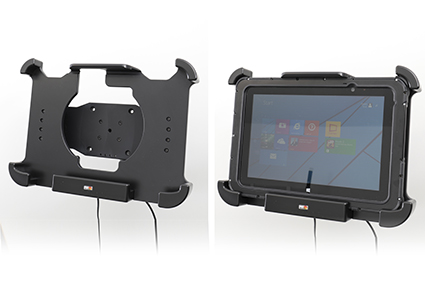
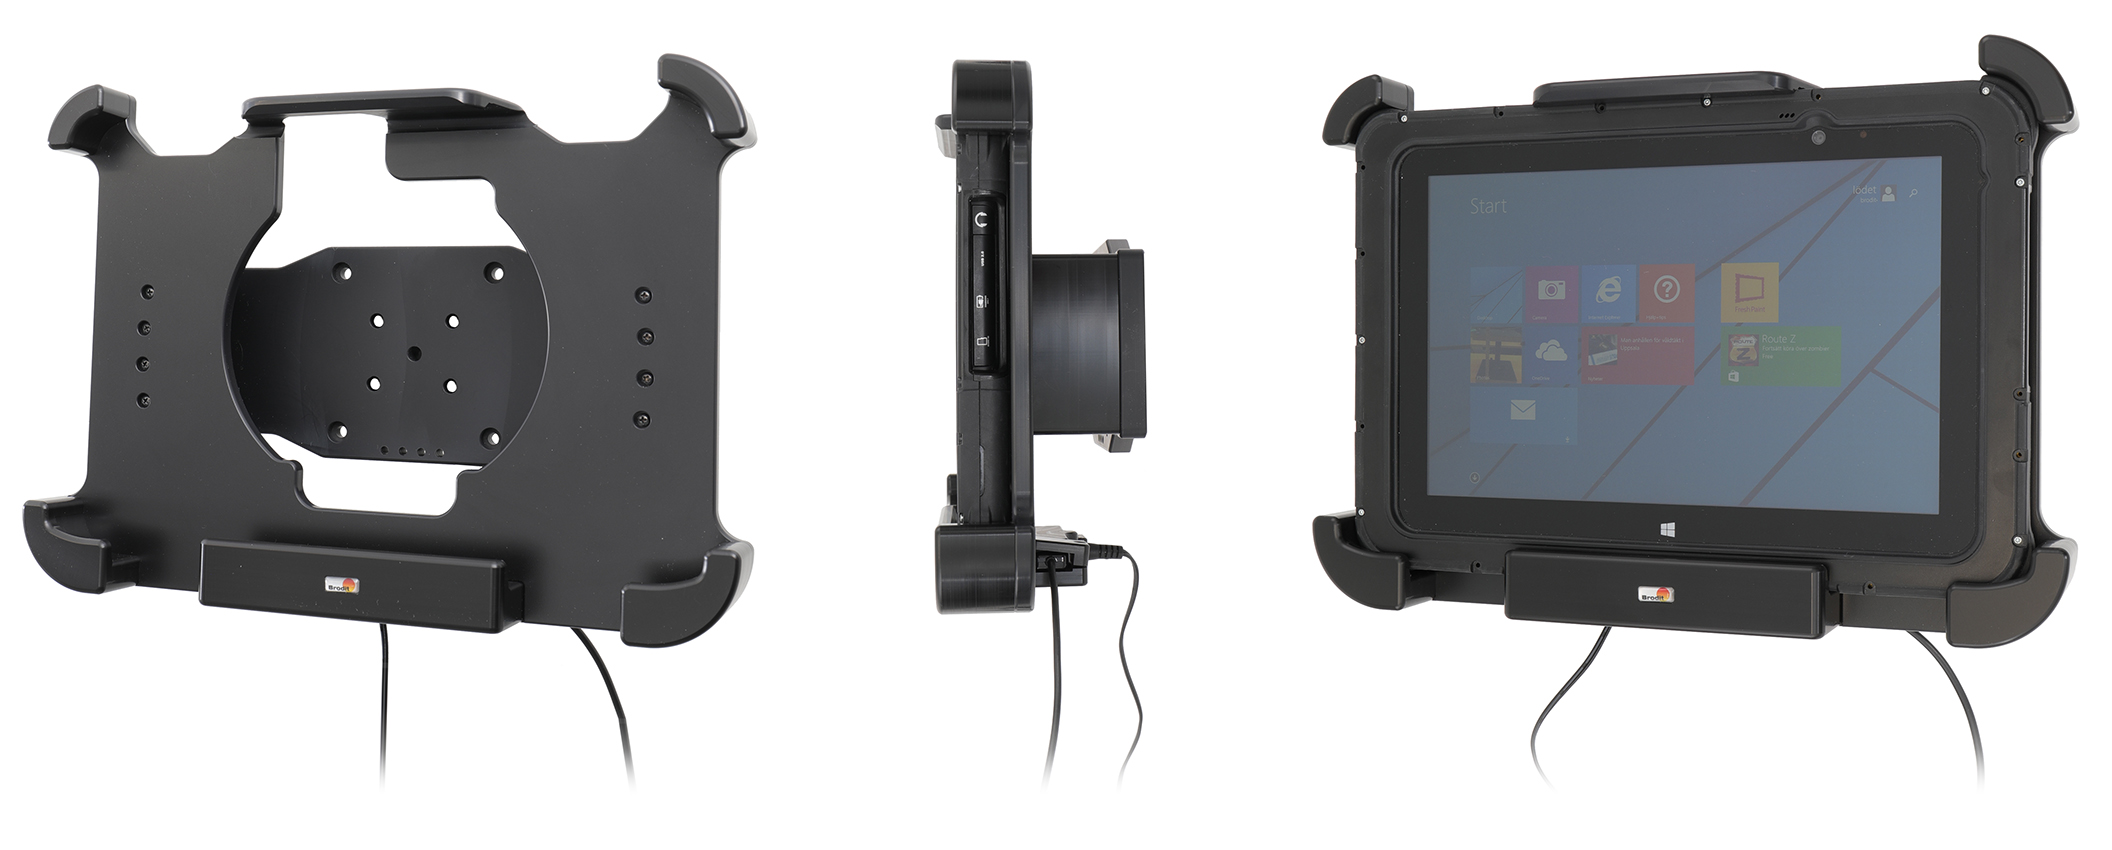
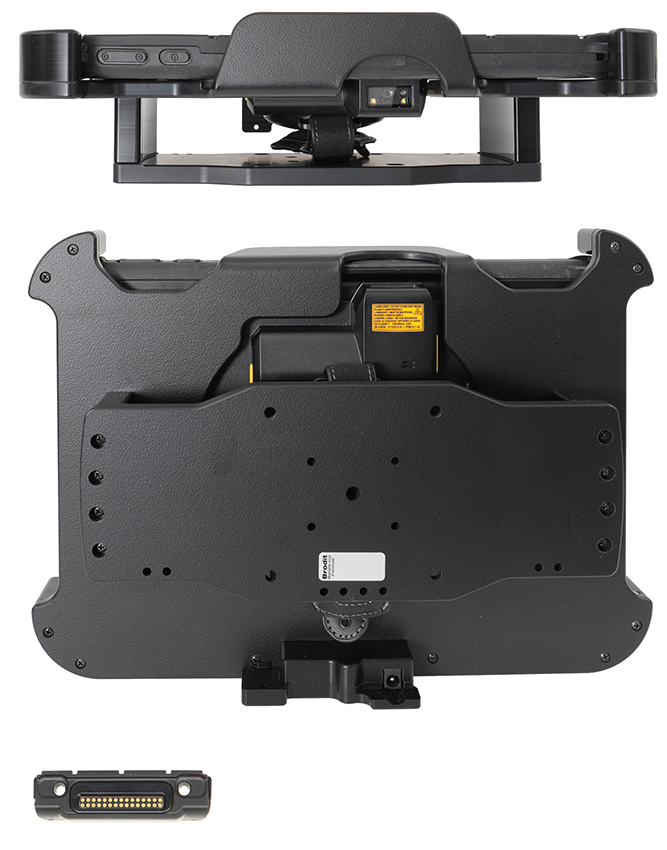
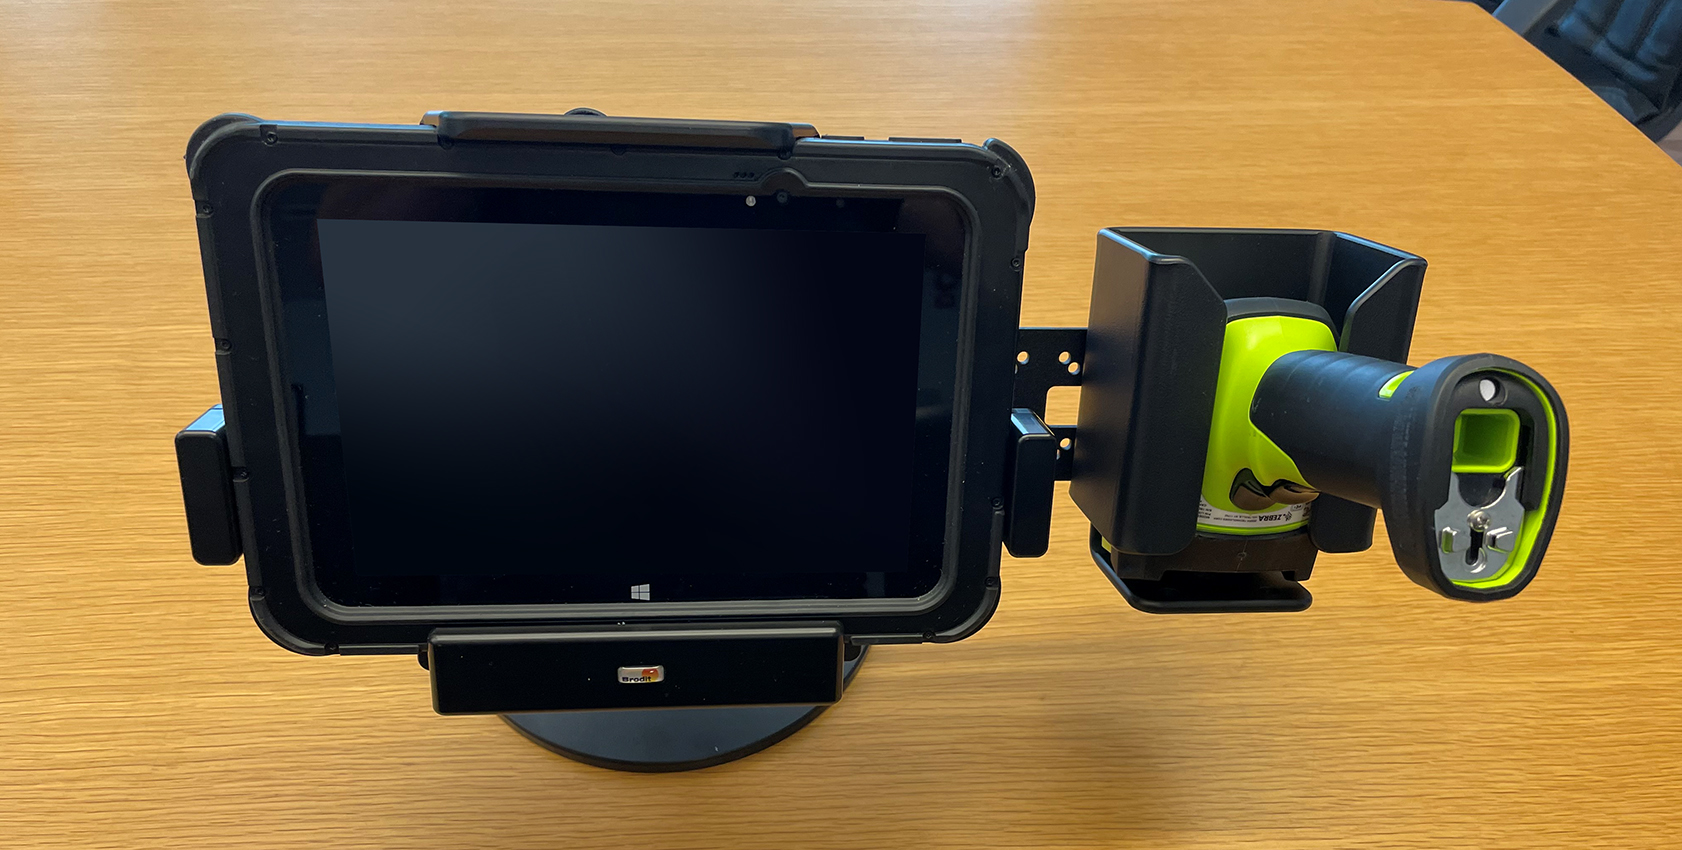
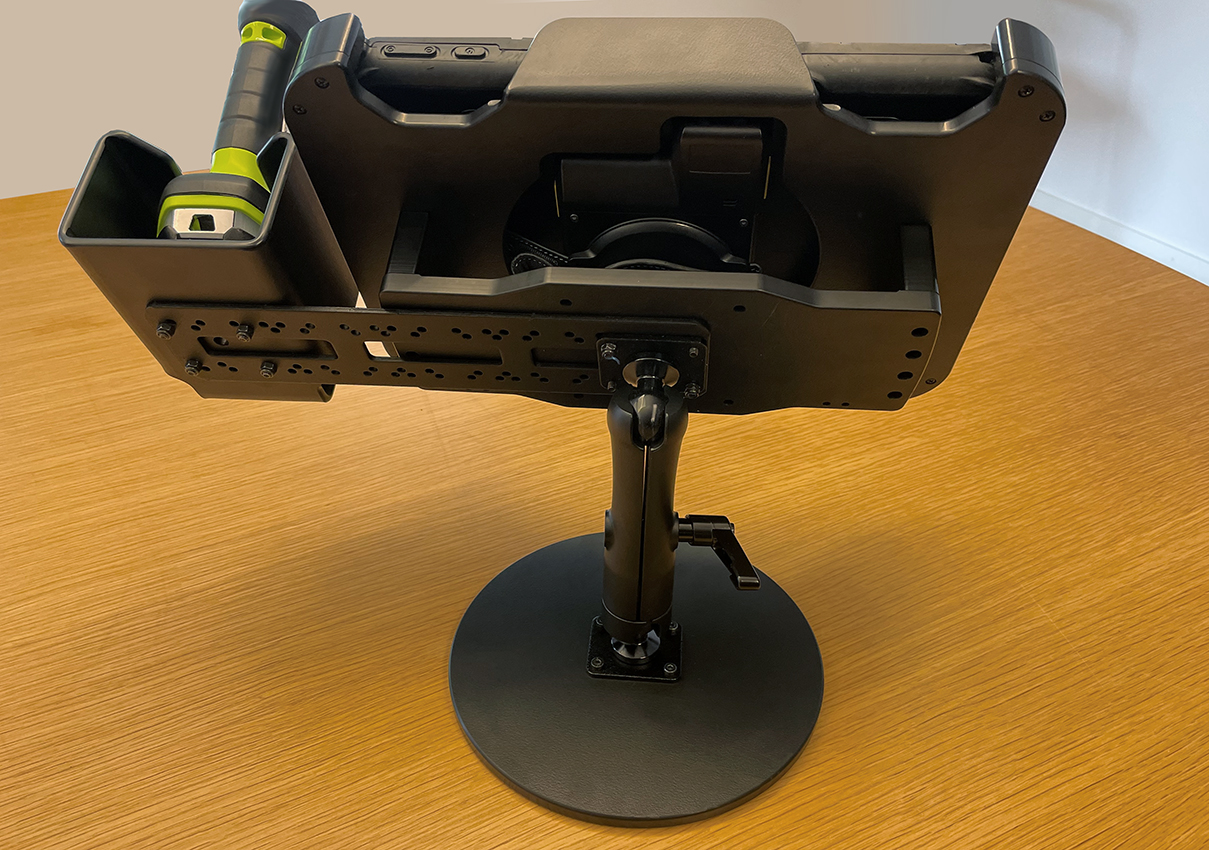
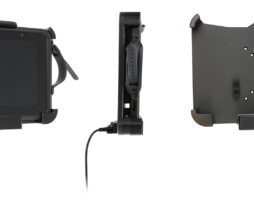
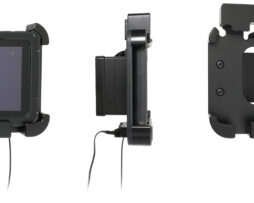
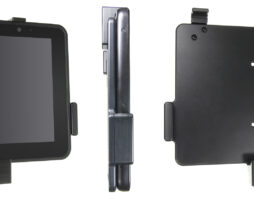
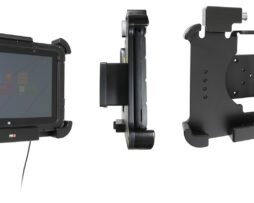
This holder is the perfect choice when you want to have your device firmly in place within easy reach. Custom fit for devices with rugged frame, with and without expansion module/handstrap. The holder is made of extra strong plastic. Attach the holder to any flat surface or a Pedestal Mount in a truck, distribution vehicle, warehouse etc. Predrilled AMPS and VESA standard holes. You have full access to the camera and all buttons and outlets when the device is in the holder.
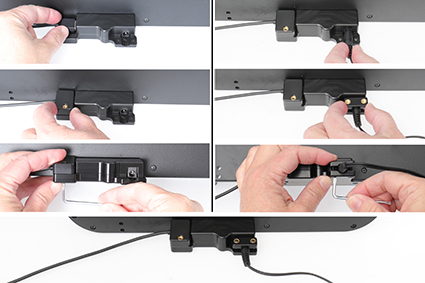
The holder has a DC connector to plug in a power supply, it charges via pogo pin connection. The power supply is NOT included in the holder, add one of these products in order to get charging to your device:
Item no. 941017 Cable with cigarette ligther plug, straight cable, 12V out, 3A. 12V in.
Item no. 941012 Hard wire cable for fixed installation, 12V out, 3A. 12V in.
Item no. 941022 Cable with cigarette ligther plug, straight cable, 12V out, 3A. 12/48V in.
Item no. 941021 Hard wire cable for fixed installation, 12V out, 3A. 12/48V in.
The holder includes a USB Host connector for Power & Data connectivity (Maximum current: 900mA @ 5Vdc).
Made in Sweden. Made of high grade ABS and Acetal plastic. Color: Black. Devices should not be installed onto a vehicle's dashboard if blocking the view or key controls. An installation of a device in a vehicle is always done on the customer's own responsibility.